
How to Quickly and Humanely Butcher Your Own Chickens
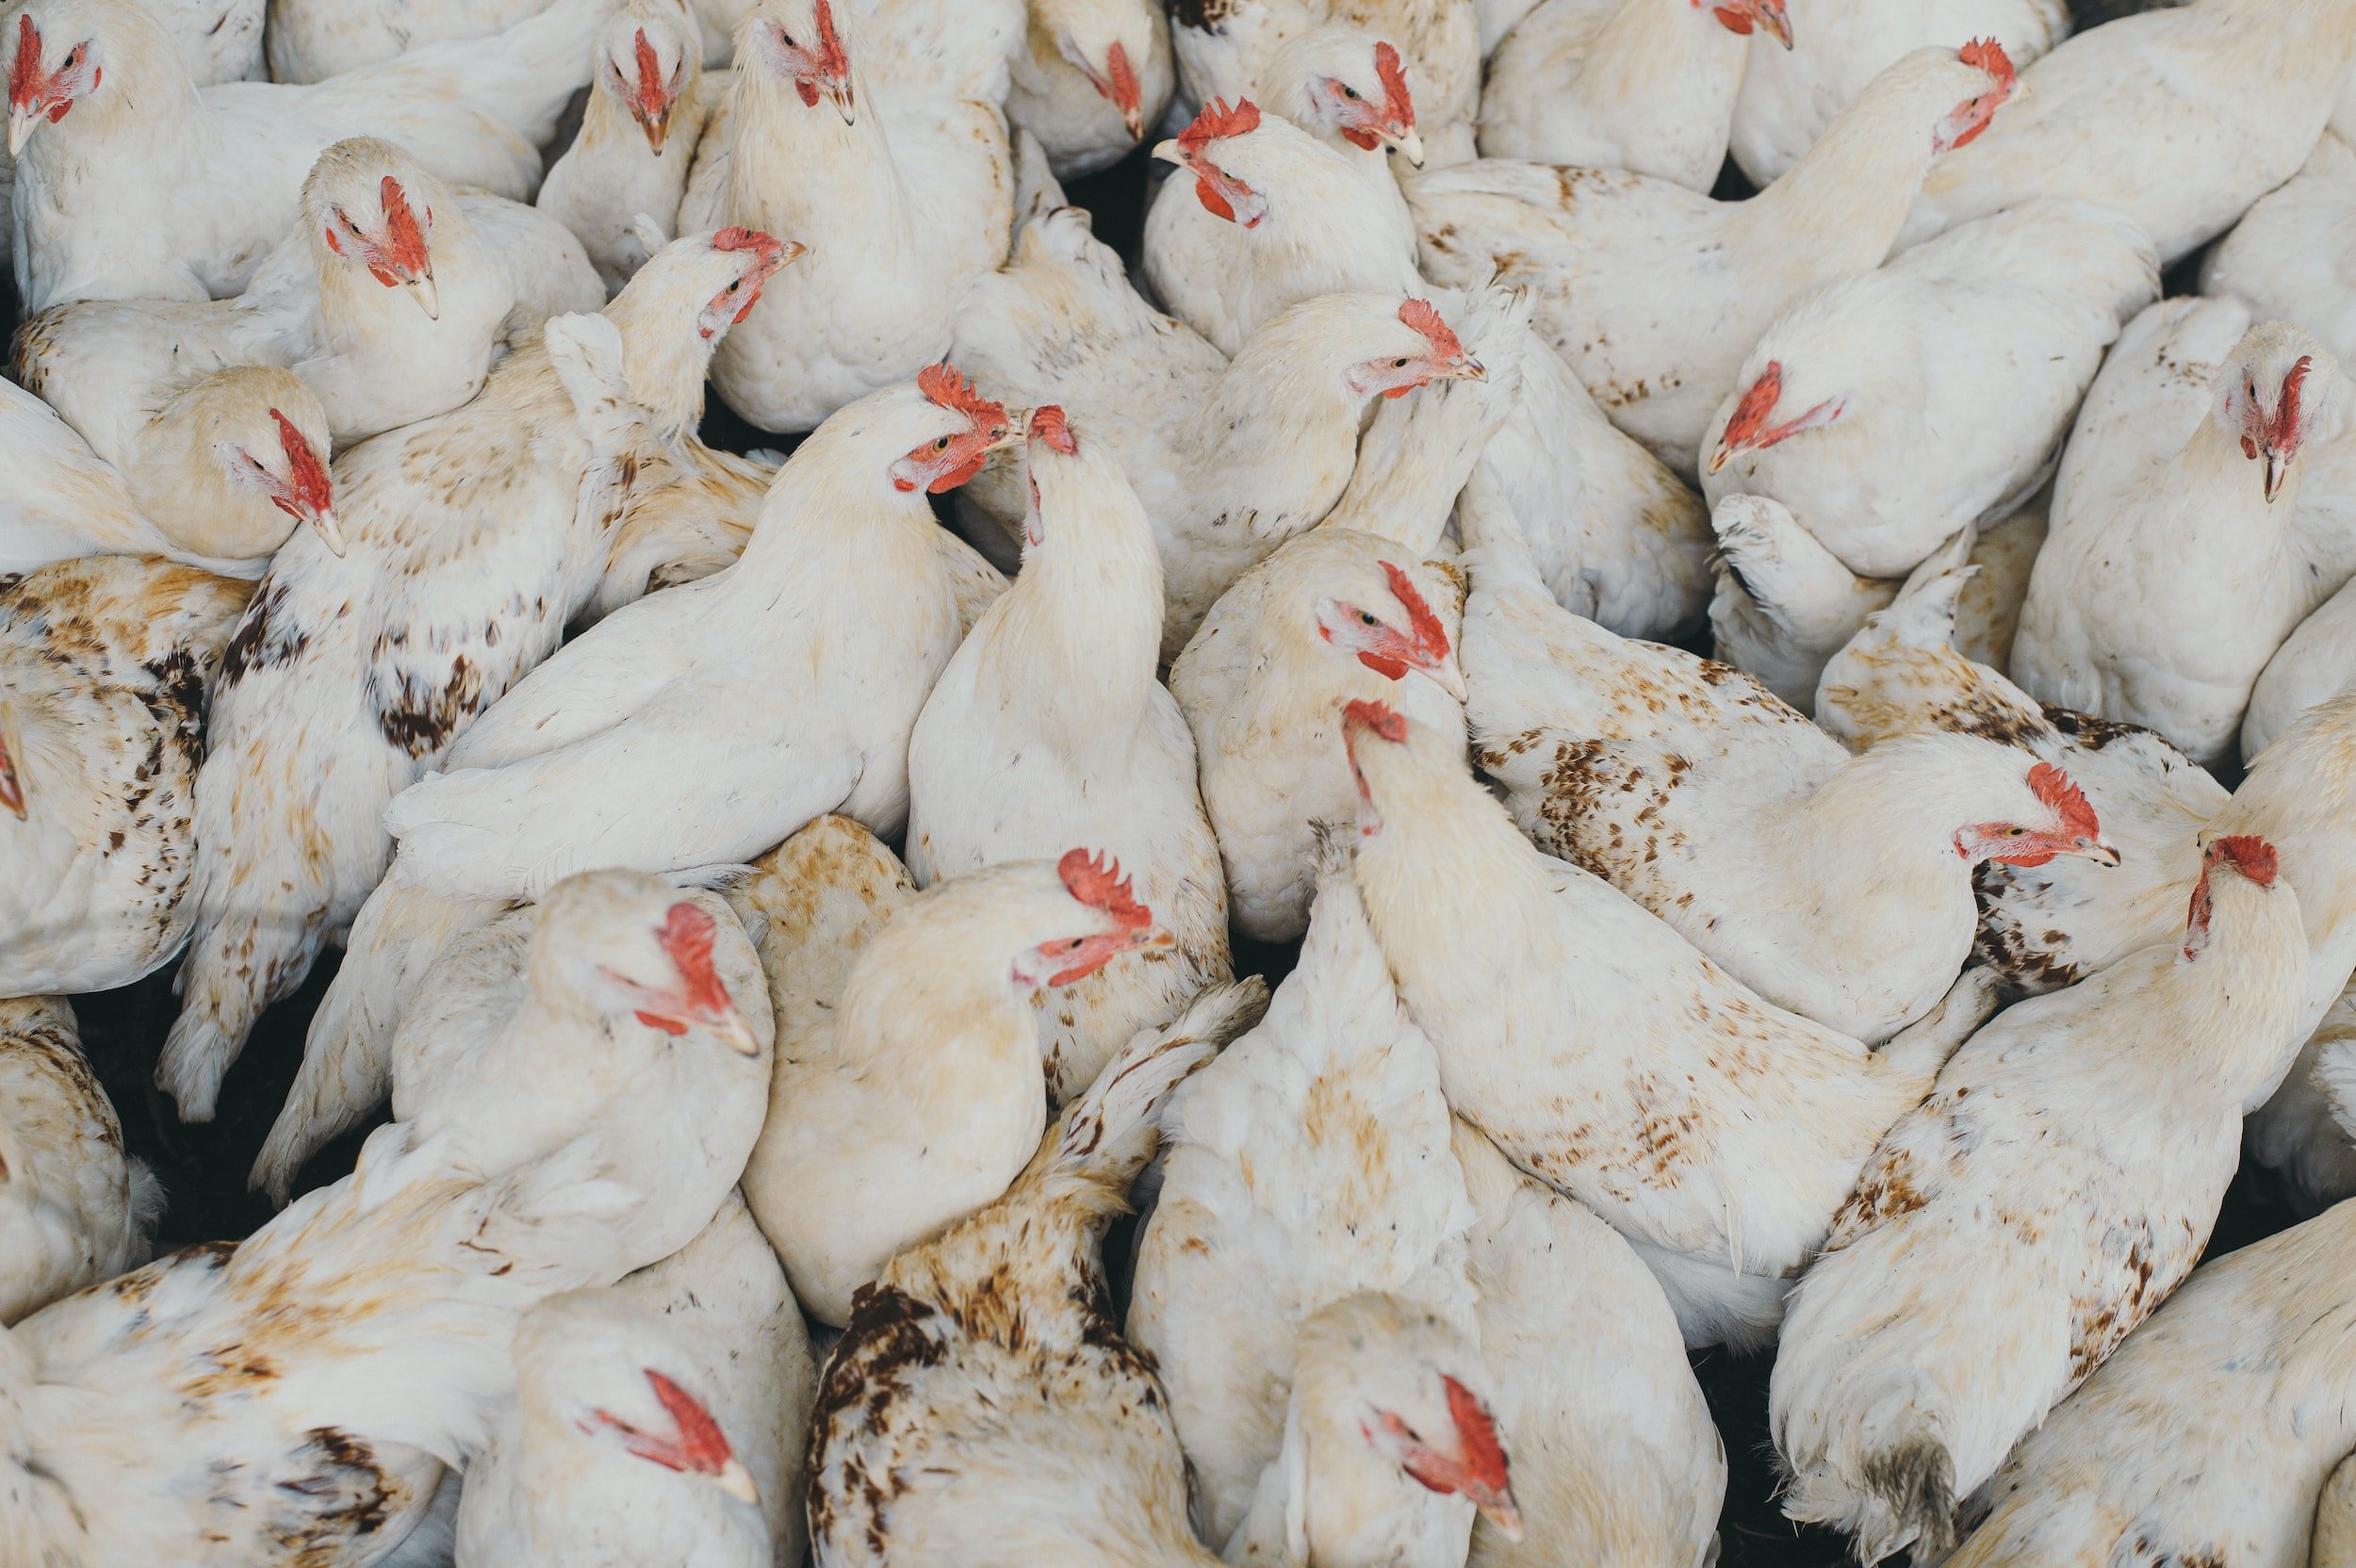
Last week, we butchered ten chickens here on the farm.
It’s never an enjoyable process, but it’s one that has to be done. We butcher our New Hampshires when they are about twelve to sixteen weeks old, which is ideal in terms of the quality of the meat and overall feed consumption.
I’m going to break down all the steps involved in butchering chickens here so that you know how to do it safely and humanely with your own meat chickens.
The process will be the same regardless of the kind of birds you have. However, butchering chickens is not for the faint-hearted so I don’t recommend you continue reading unless you are seriously and genuinely interested in butchering your own birds.
I’ve also included a video so that you can easily understand the process. Please know that there are graphic images in the video that you may not want young children to view - or you may not want to view yourself if you have a weak stomach.
Many people hire out the butchering of their chickens. This is not for us. Not only is it not as cost-effective, but we have all of the equipment needed to butcher chickens right at home.
Here are the steps you need to take in order to successfully do on-farm slaughtering.

**J&R Pierce Family Farm is a participant in the Amazon Services LLC Associates Program, an affiliate advertising program designed to allow sites to earn advertising fees by linking to products on Amazon. I often link to Amazon when recommending certain products, and if you choose to purchase, I may earn a small percentage of the sale. It costs you nothing extra, and all recommended products are ones that I personally vouch for. **
How Long Do You Keep Meat Chickens Before Butchering?
A few things to keep in mind regarding your timeline:
Meat chickens are typically butchered after 8-10 weeks.
The exact age of the chicken when it is ready for butchering can vary depending on its breed and size.
Generally, a meat chicken should be between 4-8 pounds before being processed.
Here’s a video with more details:
Equipment Needed to Butcher Chickens
Kill Cones - you can make your own by repurposing a vinegar or windshield-washer fluid jug or you can purchase one
Tabletop plucker(optional -in this video, we do not pluck the birds, but if you want a whole, skin-on chicken you will need to have a tabletop plucker like this or be prepared to do it all by hand)
Scalder (optional - again, we do not need to scald the birds in the process shown here, as they will be processed as skinless, but you can purchase a cheap scalder too)
At least two sharp knives
Multiple pots for holding and cleaning chicken carcasses
Multiple five-gallon buckets lined with heavy-duty trash bags
Don’t Want to Read? Check Out This Video
Curious about how to butcher chickens - but you’re more of a visual learner? Here’s a walkthrough to help teach you the process without taking up too much of your time:
Step One: Prepare the Birds
The night before you butcher your chickens, do not feed them, if possible. This will eliminate the likelihood of food being in the crop or vent, making the process more sanitary.
If you have pasture-raised birds that will still be out on pasture - or those that are housed with other chickens that you need to feed - don’t worry if you can’t withhold feed. The process will still work the same, but you may have more waste to contend with.
Step Two: Set Up
Get yourself set up. If you are using a scalder, get it warmed up and ready to go. Plug in your tabletop plucker, if applicable. Make sure you have water hooked up and ready to go, or that you have your kitchen sink cleaned out so you can wash the carcasses. Have your knives sharpened and ready to go.
If you’re scalding the birds, heat the water to around 140 degrees. There’s a delicate balance here - the water needs to be hot enough to soften the feathers but not so hot that it will tear the skin when you’re plucking.
Position your buckets so that they are directly under the cones. The cones should be affixed to a structure of some sort - we have ours tacked to a tree. The buckets catch a majority of the blood so that you make less of a mess that you will need to clean up later. You’ll also want plenty of buckets with trash bags set up near your processing table that you can toss feathers, parts, and innards in there, too.
Step Three: Catch the Birds
We’ll have to make another video on this at another time - not only because it helps to know how to catch a chicken, but also because it’s comical when you’re trying to snatch birds out of a chicken tractor. This is usually a two-person job - my husband is the noble one and will crawl inside to catch the birds. I stand on the outside and he hands them out to me.
Once he hands me a chicken, I zip-tie it around the ankles. This is a humane way of keeping the bird contained and allows them to relax in the grass without panicking or being confined to a cage. Once we have all of our birds rounded up, we transport them to a grassy area near the tree where we do our butchering. This allows them to relax while they are waiting.
Step Four: Placement
Pick up a bird and place its head into the cone. It should be lying upside down. When a chicken is upside down and placed in the cone, it will become remarkably calm.
Step Five: Cutting the Throat
Some people completely cut the heads off their chickens when they slaughter. This is not any more or any less humane than our method - which is to simply slit the main artery. It is entirely up to you on how you would like to do this. We choose to do it this way because it seems to produce less mess.
This may seem brutal, but it’s truly the most humane way to slaughter a chicken. Knowing that your chickens have died in the quickest, kindest way possible eases the stress of the situation.
Cut close to - but not through - the windpipe. Go in with the knife upside down through the main artery, slice through, turn the knife, and wait.
You will need to wait a few minutes for the blood to drain out. Keep in mind that the chicken may flop about during this process.
Do not panic. The chicken has died - this response is simply the last response of the nervous system. As long as you cut the artery correctly, your chicken is not suffering.
Step Six: Pluck or Skin Your Bird
I will make another article and video at another time about how to scald and pluck your bird. For the sake of concision, this article and video deal solely with how to skin a chicken.
You will need to start by making an incision between the back two legs. Work for your hand around the inside of the chicken beneath the skin.
Work the membrane off the meat, allowing the tail feathers to remain. Work the feathers down to the head. Remember that the older the birder, the harder the skin will be to peel.
This method won’t yield you a lot of wing meat, particularly because our chickens are not as old. We recommend plucking your birds if you want to salvage wing meat. Our birds were so young that they didn’t have a lot of meat so we skipped this step.
Next lay the chicken on its back. Using a pair of brush cutters, cut the bone at the joint above the foot. Do this for both feet. You’ll need to use your knife to cut through the rest of the leg. Do the same thing on the wing of the bird.
Step Seven: Remove the Neck
Pull the neck as far down as you can. This will remove a lot of the gutting you need to do later on. Pull it as far down as possible, then run the knife along the outside membrane to make it easier for you to clip. Clip with your snippers.
Step Eight: Remove the Tail
Clip and cut off the tail feathers in the same method you used to clip the feet and wings.
Step Nine: Snap the Legs
Pop the hipbones outward so the bird can lay open. This will make it easier when you gut the chicken.
Step Ten: Find the Ribs and Expose the Innards
Find the ribs and cut alongside them without puncturing the guts. Use the tip of your knife to cut down along into the pocket. You can cut the membrane to widen up the bird and make it easier to cut.
Step Eleven: Gut the Chicken
You will have made a pocket for your hand with the previous step. Use your hand to remove the lower intestines, reproductive organs, kidneys, lungs, heart, and liver. Simply run your hands along the breastbone to make sure you have removed all of the innards.
You may have some small pieces of organs left when you are finished with this process. If you can’t get absolutely everything, don’t panic - you can get the rest when you wash your chicken.
In the video, he mentions a tool you can use to scrape the lungs out. We don’t have one and just do it by hand, but if you’re interested in purchasing one, you can find it here.
Step Twelve: Clean Your Bird
Bring your chicken - or chickens, if you’re processing multiple birds - inside. Here, you will need to thoroughly wash your chickens.
I can’t stress this enough - you want to make sure you get all of the guts, blood, and extra feathers off the carcass. Otherwise, you risk food contamination.
Step Thirteen: Age your Bird
We put all of our chickens in a pan and allow them to age in the refrigerator fo ar a minimum of twenty-four hours. This ages the bird, allowing it to go through the process of rigor mortis. This prevents your chicken from becoming tough and stringy.
Once that’s done, we cut up our chickens to prepare them for the freezer. The bones go into the crockpot for chicken stock and once they’ve cooked down, we usually toss them in the compost.
Other Tips for Butchering Chickens

Start with a few birds at a time, and as you get more proficient, you can process chickens in bulk. We normally do at least ten chickens at a time - our largest batch in one day is forty. This is especially true if you plan on scalding and plucking the birds -it takes a long time to get the equipment set up, so it makes sense to do them all at once.
Make sure everything is sharpened and ready to go. You don’t want to have to deal with a dull knife in the middle of your butchering.
Consider investing in a food sealing system. We love our FoodSaver - it lets us seal everything from chickens to herbs to vegetables without having to worry about freezer burn or spoilage.
Stay calm. Getting panicky while you are butchering chickens is a recipe for disaster. Not only will it stress your bird out unnecessarily, but you risk doing something incorrectly or worse - hurting yourself in the process.
That’s all there is to it! This is one of the most humane ways you can butcher your chickens on the farm. Keep in mind that you will want to do this outside, and if you’re interested in selling chickens to others, you may want to take a look at USDA guidelines.
Want to learn more about raising chickens? Be sure to check out these articles!
Subscribe to our email newsletter for regular tips and tricks on homesteading and farming – wherever you are. You can also follow us on Instagram (@jrpiercefamilyfarm) and Pinterest (J&R Pierce Family Farm) for frequent updates. Happy homesteading!