
How to Prepare Your Raised Beds For Spring
It’s that time of year again.
Spring planting time!
Well, not quite.
The snow is mostly gone, but there’s still a fair amount of mud and muck that we have to contend with. That being said, we have had plenty of days that are close to 70 degrees and so sunny that I feel like it’s a waste of time to not be planting!
Unfortunately, even though it’s getting close to time to plant, it’s still too early to do so in many parts of the country, even if you are planting in raised beds. True, raised vegetable gardens tend to warm up more quickly than regular vegetable plots, but you still need to allow plenty of time in case a late frost happens to appear.
Slowly but surely, though, things are starting to happen, and I’m noticing that as the days are growing longer, so is my to-do list. Building new raised vegetable garden beds and raised herb gardens are at the top of my priority list, but so is maintaining and preparing the garden beds I already have.
Here are a few things to keep in mind!

**J&R Pierce Family Farm is a participant in the Amazon Services LLC Associates Program, an affiliate advertising program designed to allow sites to earn advertising fees by linking to products on Amazon. I often link to Amazon when recommending certain products, and if you choose to purchase, I may earn a small percentage of the sale. It costs you nothing extra, and all recommended products are ones that I personally vouch for. **
When Should I Prepare My Raised Beds for Spring?
The best time to prepare a garden bed for spring is in late winter:
This should be done once the soil has had a chance to thaw and dry out.
To prepare, remove any weeds or debris, add fertilizer, and till the soil to aerate it.
Consider adding mulch to the bed to retain moisture and prevent weeds from growing.
Check out this video for more tips:
Tips for Preparing Your Raised Beds for Spring Planting

Here’s a checklist of everything you need to do to get your raised planters in tip-top shape. And don’t procrastinate, because the longer you do, the longer it will be before you can get your plants in the ground!
1. Make any Necessary Repairs
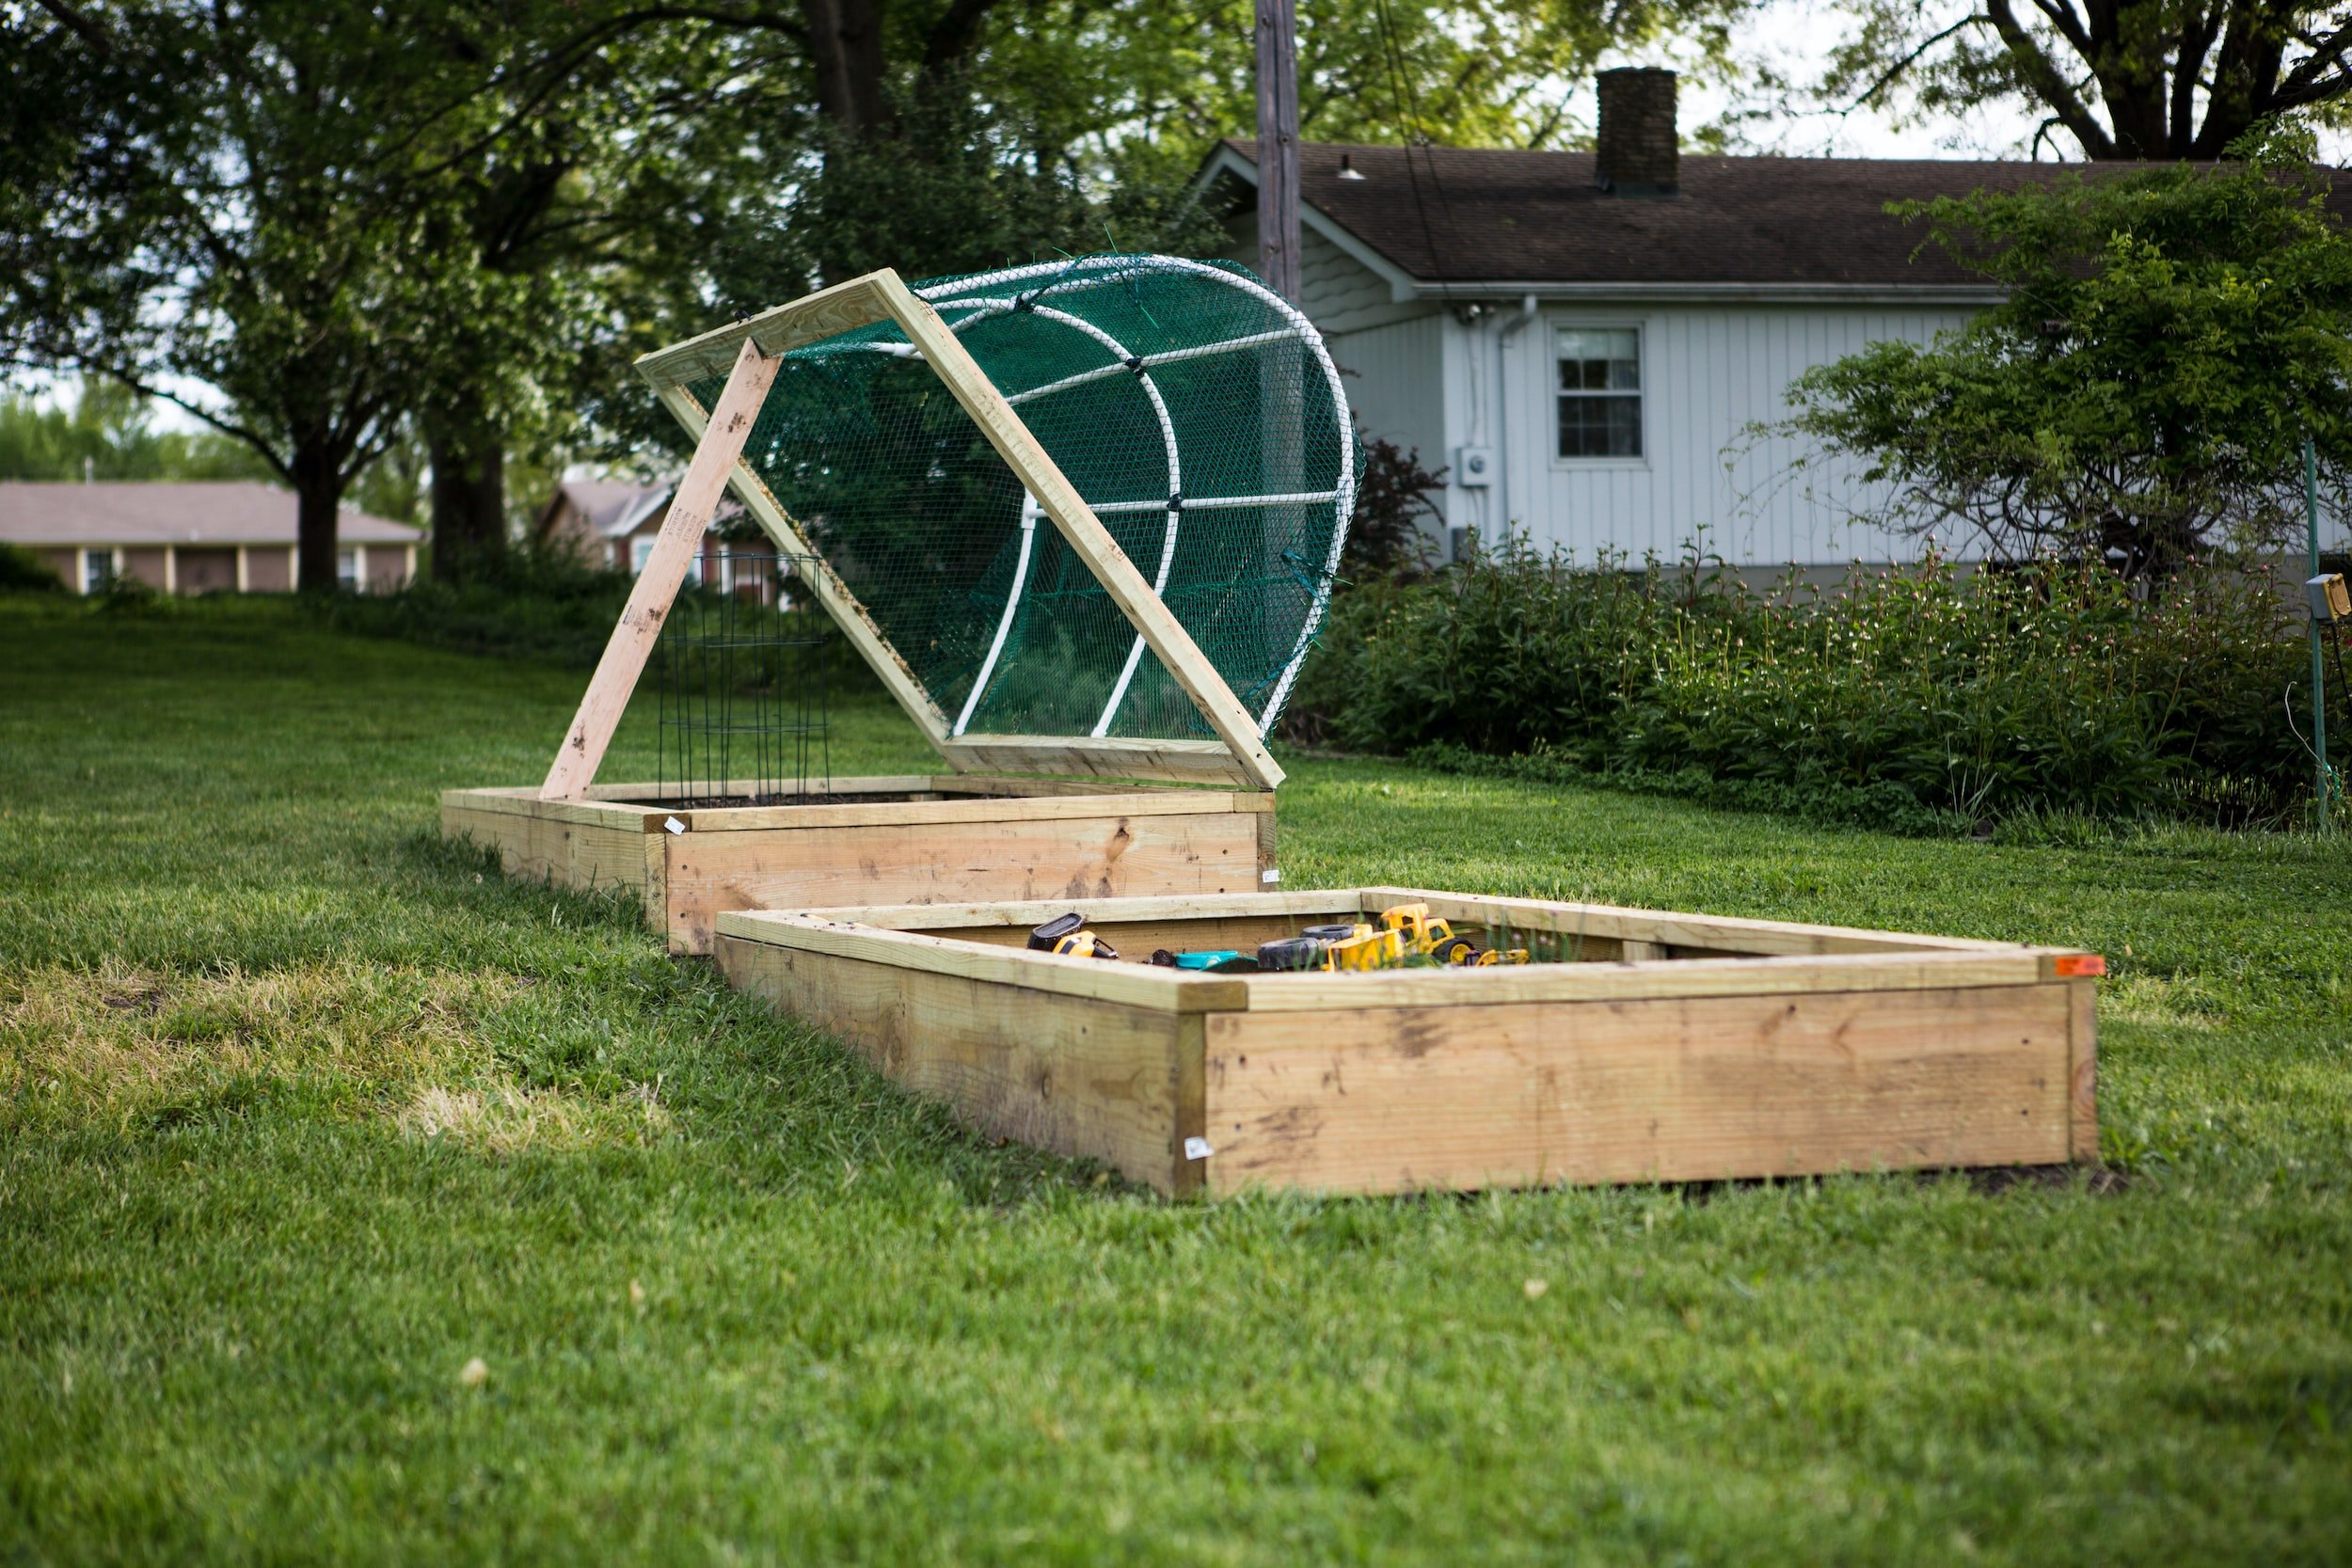
If you have traditional wooden beds, you will likely need to replace some boards, reinforce some screws or corners, or come up with new raised garden bed plans entirely. Over time, your raised beds will begin to degrade, particularly if they are made out of wood. Using higher quality woods, like cedar, can help prevent this, but know that repairs are an unavoidable chore of maintaining raised garden beds.
Even if you have plastic raised beds or those made out of another material, like concrete or brick, you will still likely have to do some touch-ups to make sure your beds are ready to go. You can also take the time to add landscape fabric, mulch, or sprinkler lines to prepare the landscape before you need to add fragile plants in the mix.
Many commercial raised bed kits have corners that won’t work loose. That being said, you may still notice your raised beds bowing or decomposing over time, so this is not a foolproof solution. You can find raised garden bed plans that help to limit any warping over time, helping you save both time and effort later on.
2. Clean Up the Beds from Last Year
I know you’re supposed to clean up in the fall.
I know this.
I also know that I am much busier in the spring than in the fall, so really I’m shooting myself in the foot by procrastinating on this relatively easy task.
Yet, every year I still do it. And while it’s not the worst decision you can make for your garden - some decomposing matter can actually provide some good organic structure and nutrients to the soil - it’s probably not the most productive.
However, you should make a point of pulling any leftover material now, before you need to begin planting in your garden boxes. This is particularly true if any of this plant matter had diseases.
3. Remove Any Lingering Crops
We aren’t able to overwinter any crops in our area (we could if we had a hoophouse, but that’s another story) but I did find a few onions hanging on from last year that I had forgotten to harvest in the garden. That was pretty cool! Although they’re not large enough to use, it was still neat to see that they survived the endless snow and ice this winter.
That being said, if you grow any cool-season crops in your plant beds, like kale or broccoli, now is the time to pull them so you can prepare for spring planting.
4. Test and Amend Your Soil
Even if you think you already know the nutrient content and acidity of your soil, it’s not a bad idea to test it every few years. You’d be amazed at how time and plants can affect the structure and composition of your soil. Have it tested, and then figure out if you are deficient in any macro or micro nutrients.
You can add compost that you worked hard to create all winter, or you can buy storebought fertilizer. Or, if you know that your raised veg beds are deficient in just one or two nutrients, you can add certain organic ingredients that will boost the content of just that one nutrient. For example, adding eggshells is a great way to boost calcium in the soil.
5. Add Fresh Soil
The soil in your above ground garden bed will naturally shift, sink, and become depleted over time. You may need to add more soil every year, or at least every other year. You can add potting soil, compost, or even composted manure in your raised beds. However, remember that manure takes some time to settle down, so you may want to wait until next year to plant in that bed if you add fresh manure.
Ideally, you should add compost to your raised beds each fall. This way, you don’t have to use compost that has fully broken down. Some of the decomposition process can actually occur on top of your raised beds. All you have to do is spread a few inches of compost, and then cover it with mulch. This is a great way to protect the soil from the winter elements, reducing erosion and helping retain nutrients and microorganisms in the soil.
6. Get Rid of Weeds
Raised beds are typically less prone to weeds and pests than are in-ground garden plots, but you may still need to pull a few weeds. You can hoe up the ones that are in there now or pull them by hand (they should be easy to pull when the ground is still moist). Alternatively, you can use sheet mulch or black plastic to suffocate weeds and warm the soil at the same time.
7. Avoid Walking Too Much on Your Raised Beds
Whenever possible, try not to walk on your beds. This is particularly true right after it rains and the soil is waterlogged, as well as pretty much all the time in the spring. This can cause some serious soil compaction, which will make it harder to weed and also more difficult for your plants to bounce back after they are transplanted.
Instead, work from outside your raised beds. The whole point of raised vegetable garden beds is that they provide fluffy, well-draining soil. This soil, in turn, makes it easier for plants to spread their hungry roots throughout the soil. Stepping on the soil compacts it and kills the activity of the microorganisms beneath the soil’s surface.
8. Turn Under Any Cover Crops
Green manure cover crops are those that are planted over the winter months to replace organic matter and reinforce nitrogen content in the soil. These plants should be turned over before they go to seed - ideally a few weeks before new crops are planted.
To do this, you can cut the crop close to the soil level, or you can smother it by laying down mulch. Keep in mild that the mulch method, though easier, can take some time. It will need roughly two weeks to smother the cover crop.
9. Put Out Stakes, Trellises, and Poles
If you grow plants that rely on support systems, like pole beans, tomatoes, or peas, you will need to put some supports in place now. If you wait until after those crops have been planted, you risk disturbing the roots of your vegetables.
10. Divide and Clear Perennials
If you are growing perennials in your raised beds, you will need to remove them of old plant debris and mulch thoroughly to prevent weeds. Perennials should be divided when the shoots are roughly 2 to 4 inches tall. You can prepare new beds for perennial by spreading compost and working it into the soil.
And the most important (yet most difficult!) part of raised bed preparation? The wait! Once you get your raised beds prepped for spring, you will need to sit back and relax as you wait for warmer weather to arrive.
Don’t rush things! Summer will be here before you know it.
Want to learn more about farming? Be sure to check out these featured articles!
Subscribe to our email newsletter for regular tips and tricks on homesteading and farming – wherever you are. You can also follow us on Instagram (@jrpiercefamilyfarm) and Pinterest (J&R Pierce Family Farm) for frequent updates. Happy homesteading!