Expert Tips for Harvesting, Curing, and Storing Pumpkins
Pumpkins are a staple when it comes to the fall and winter holidays. They can be found filling every harvest-themed decoration and adorning every porch. Plus, they’re at almost every dinner table in the form of a traditional pie.
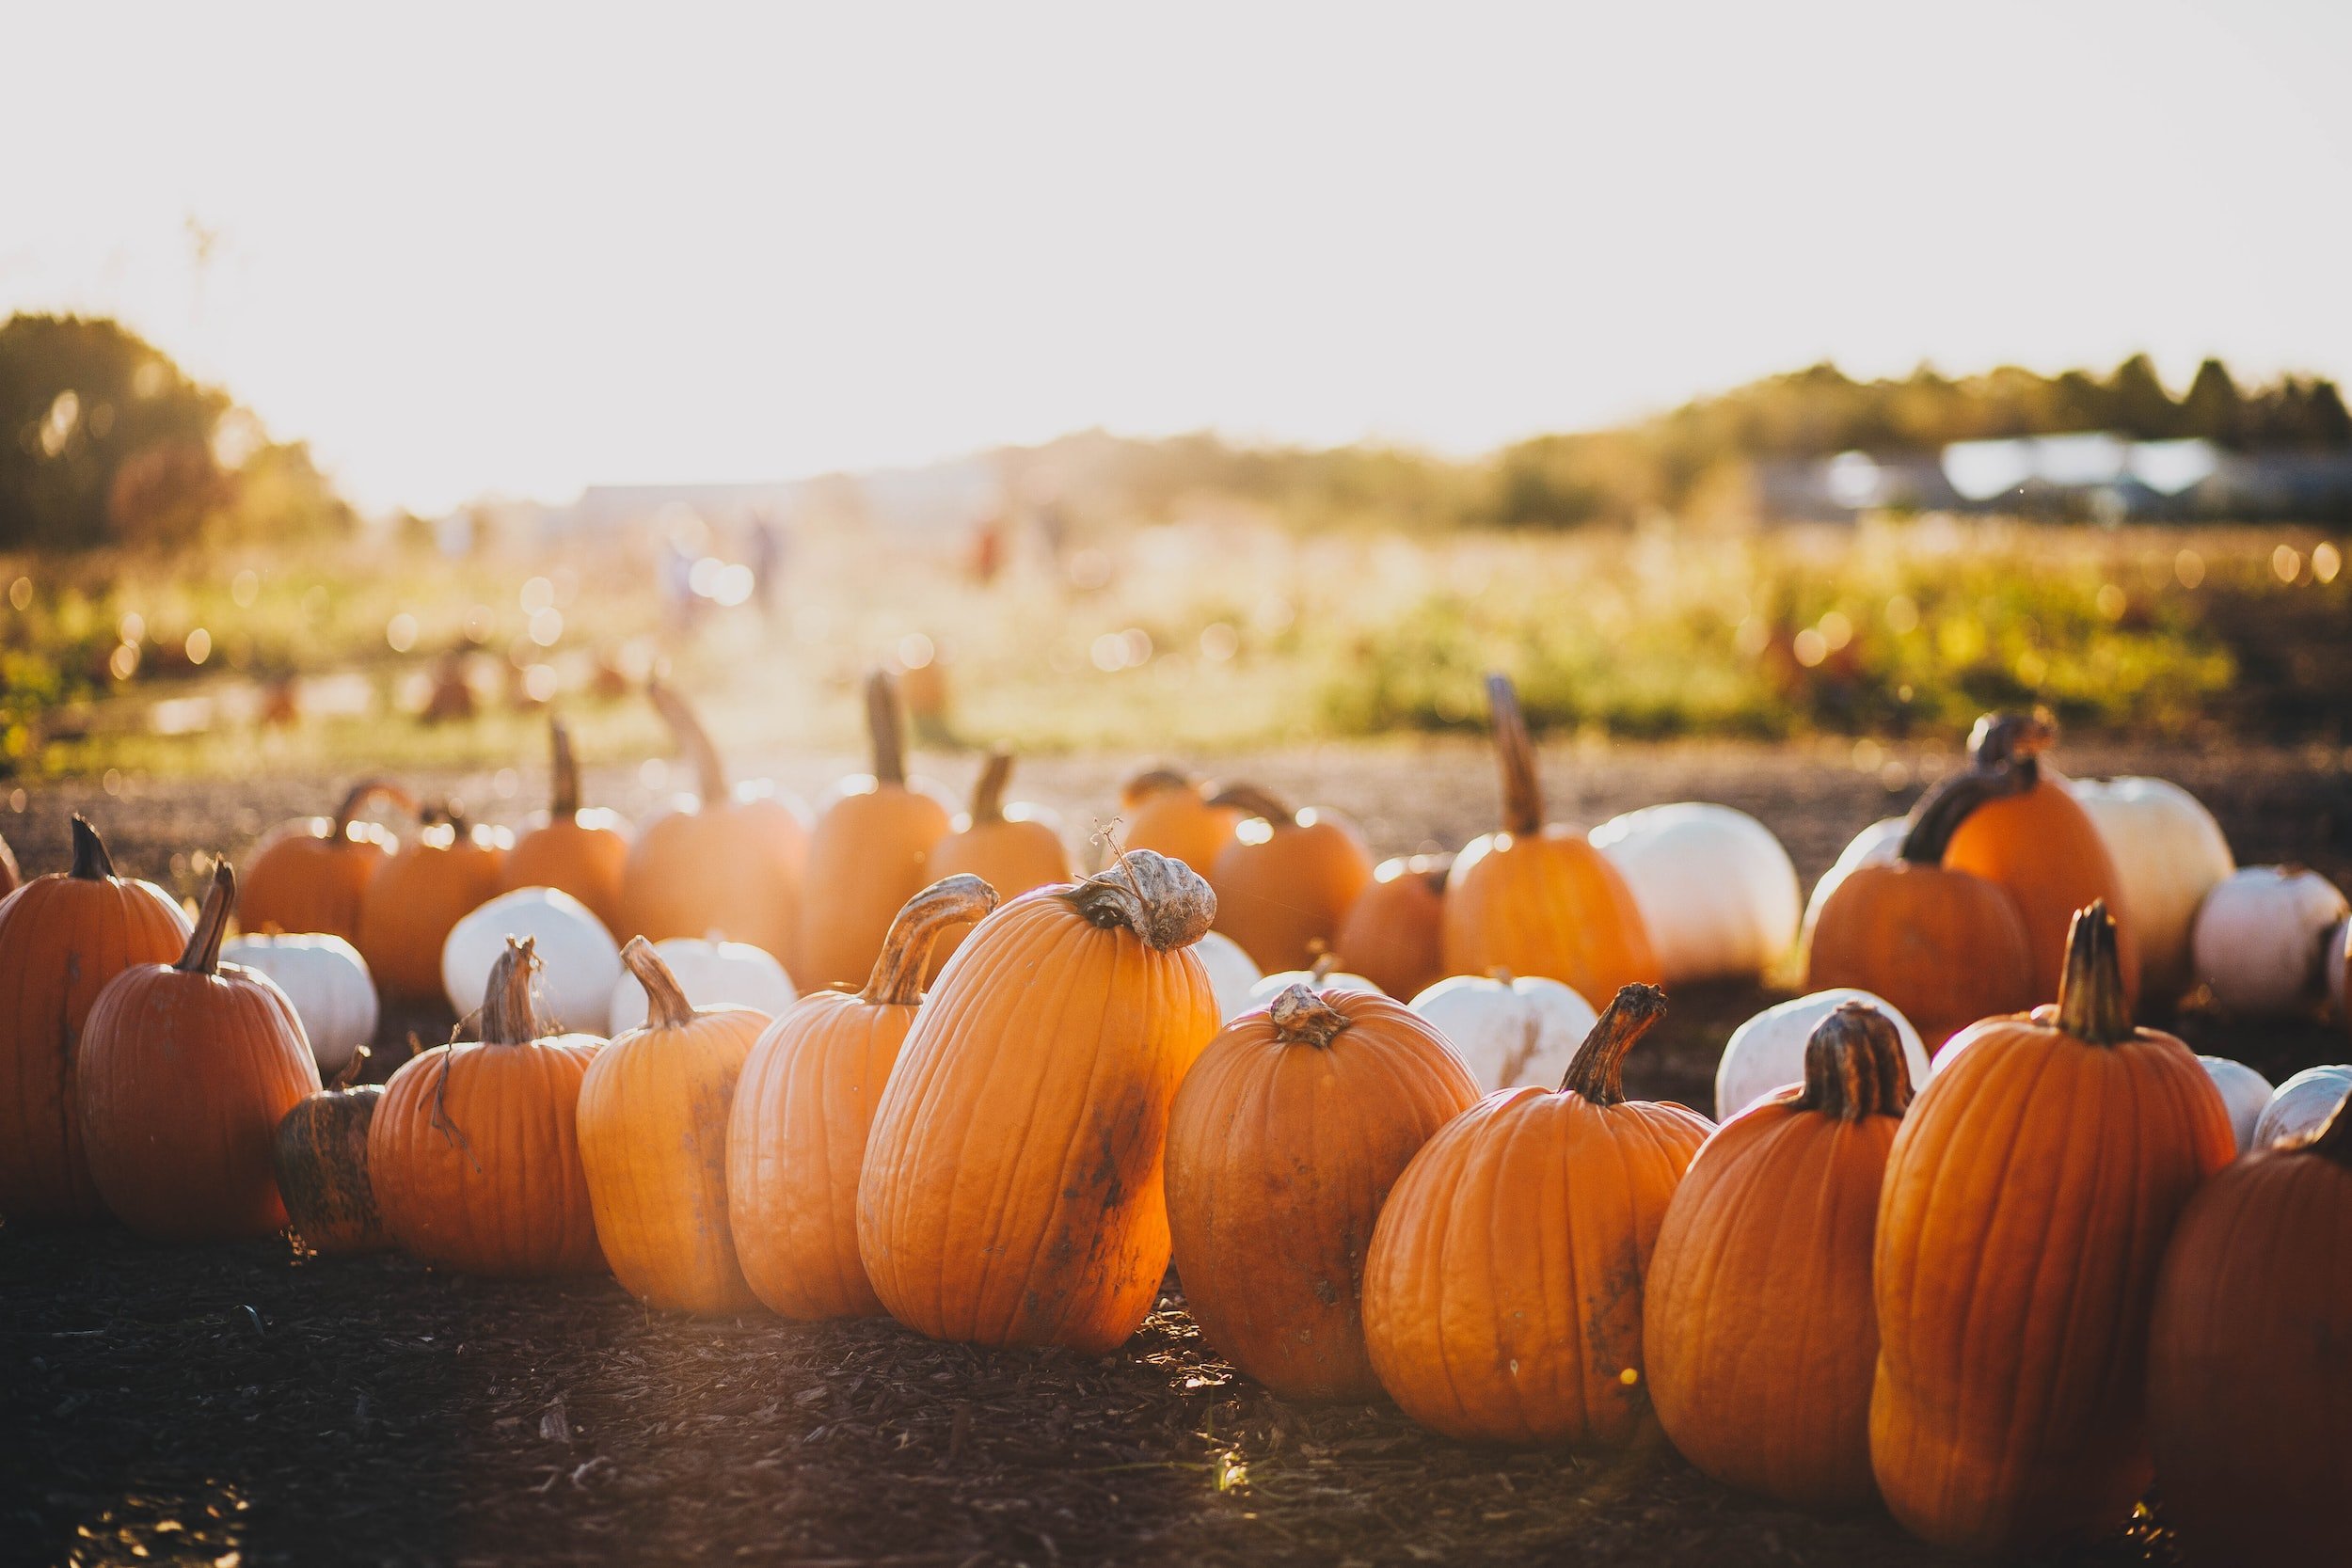
Pumpkins should be harvested when they reach the maturity date indicated on the seed packet. They’ll also reach their maturity coloration, have a hard and firm rind, sound hollow when you knock on the rind, and their vines will start to turn brown.
If you are interested in learning more information about when to harvest your pumpkins, you should read on. I am also going to cover how to grow, harvest, and store pumpkins.

**J&R Pierce Family Farm is a participant in the Amazon Services LLC Associates Program, an affiliate advertising program designed to allow sites to earn advertising fees by linking to products on Amazon. I often link to Amazon when recommending certain products, and if you choose to purchase, I may earn a small percentage of the sale. It costs you nothing extra, and all recommended products are ones that I personally vouch for. **
How Do You Know When a Pumpkin is Ready to Pick?

When you’re growing any plant, knowing when it’s ripe can be tricky. This is no different for a pumpkin. As long as you follow these guidelines, you’ll be able to easily harvest your pumpkins at precisely the right time:
Keep track of the days to maturity from the seed packet and harvest at the correct time
Look for that “pumpkin orange” coloring (or the color that your pumpkin is supposed to be)
Hard and firm rind that your fingernail cannot puncture
When you knock on the rind, you hear a hollow sound
The vine has started turning brown
You can also watch this video for suggestions on picking a ripe pumpkin:
How Do I Grow Pumpkins?

Several key factors go into the successful growing of pumpkins. Missing any one of these can result in poor crop output or even crop loss. Ensure you follow these tips to produce the best pumpkins possible.
Prepare the Soil
For a spring planting, prepare your soil in the fall. You’ll need to till it, working in manure and leaves. When it’s time for planting, apply a fertilizer that is low in nitrogen and high in both potassium and phosphorus.
Find the Perfect Spot
You will need a large spot for your pumpkin patch. Pumpkin vines will spread quite far, so you won’t want anything else planted next to them. Additionally, space them far enough from each other so that they have room to spread out.
You’ll want to make sure that no part of your patch is in a shaded area. Your pumpkins will require full sun to grow well. During the growth of your crop, you may also find that you need to trim back the vines to allow the plants to get more sunlight.
Time Your Planting Appropriately
Make sure you read the time to maturity on the seed packet. If you’re aiming for a Halloween harvest, you need to ensure you have planted your seeds at the appropriate time. Planting them too late will result in missing the day altogether.
Additionally, if you do not time the planting correctly, you run the risk of the first hard frost hitting before your crop is ready to be harvested. Ensure you are counting the correct number of days and researching when the frost is expected.
Water Weekly
You’ll need to give your pumpkin plants a good dousing once a week. Bear in mind that their leaves can look wilted in the sun. Don’t let this tempt you into adding more water because you could end up causing more damage than good.
Prune Your Vines
If your vines are growing uncontrollably, consider pruning them. This will help divert the plant’s resources to the growing pumpkins instead of the vine. You’ll see healthier pumpkins as a result of trimming back the overgrown vines.
Use Mulch for Weed Control
Apply mulch to your pumpkins to aid in weed control. You will want to apply mulch right before planting up to a week out to ensure that the weeds are kept at bay before you introduce your seeds.
If you do not use mulch, your alternative will be careful hoeing to remove weeds as they crop up. This will add extra work to your maintenance and care of your crop and extra risk because you might damage one or more plants in the process.
What Month Are Pumpkins Harvested?

Pumpkins are harvested in late September and early October. The key to a successful harvest is doing it on a day when the weather is dry and sunny. You’ll also need to pick your pumpkins before the hard frosts and frigid temperatures hit.
Do Pumpkins Fall Off the Vine When Ripe?
Pumpkins do not fall off the vine when they are ripe. It’s up to you to determine when they are ready to be harvested. Then, you will need to remove them from the vine with pruning shears.
Even if you wait until the vine completely dies, the pumpkin will still be attached. It will, however, be easier to harvest. In this situation, it will not require cutting the vine, and instead, the pumpkins can just be plucked off the vines.
Tips for Harvesting Pumpkins
When you are harvesting your pumpkins, there are several things to look for and do. You will need to ensure that you are harvesting at the right time and that your plants are ripe. Follow these recommendations to have the most successful harvest.
Wait for the Best Color and Firmness
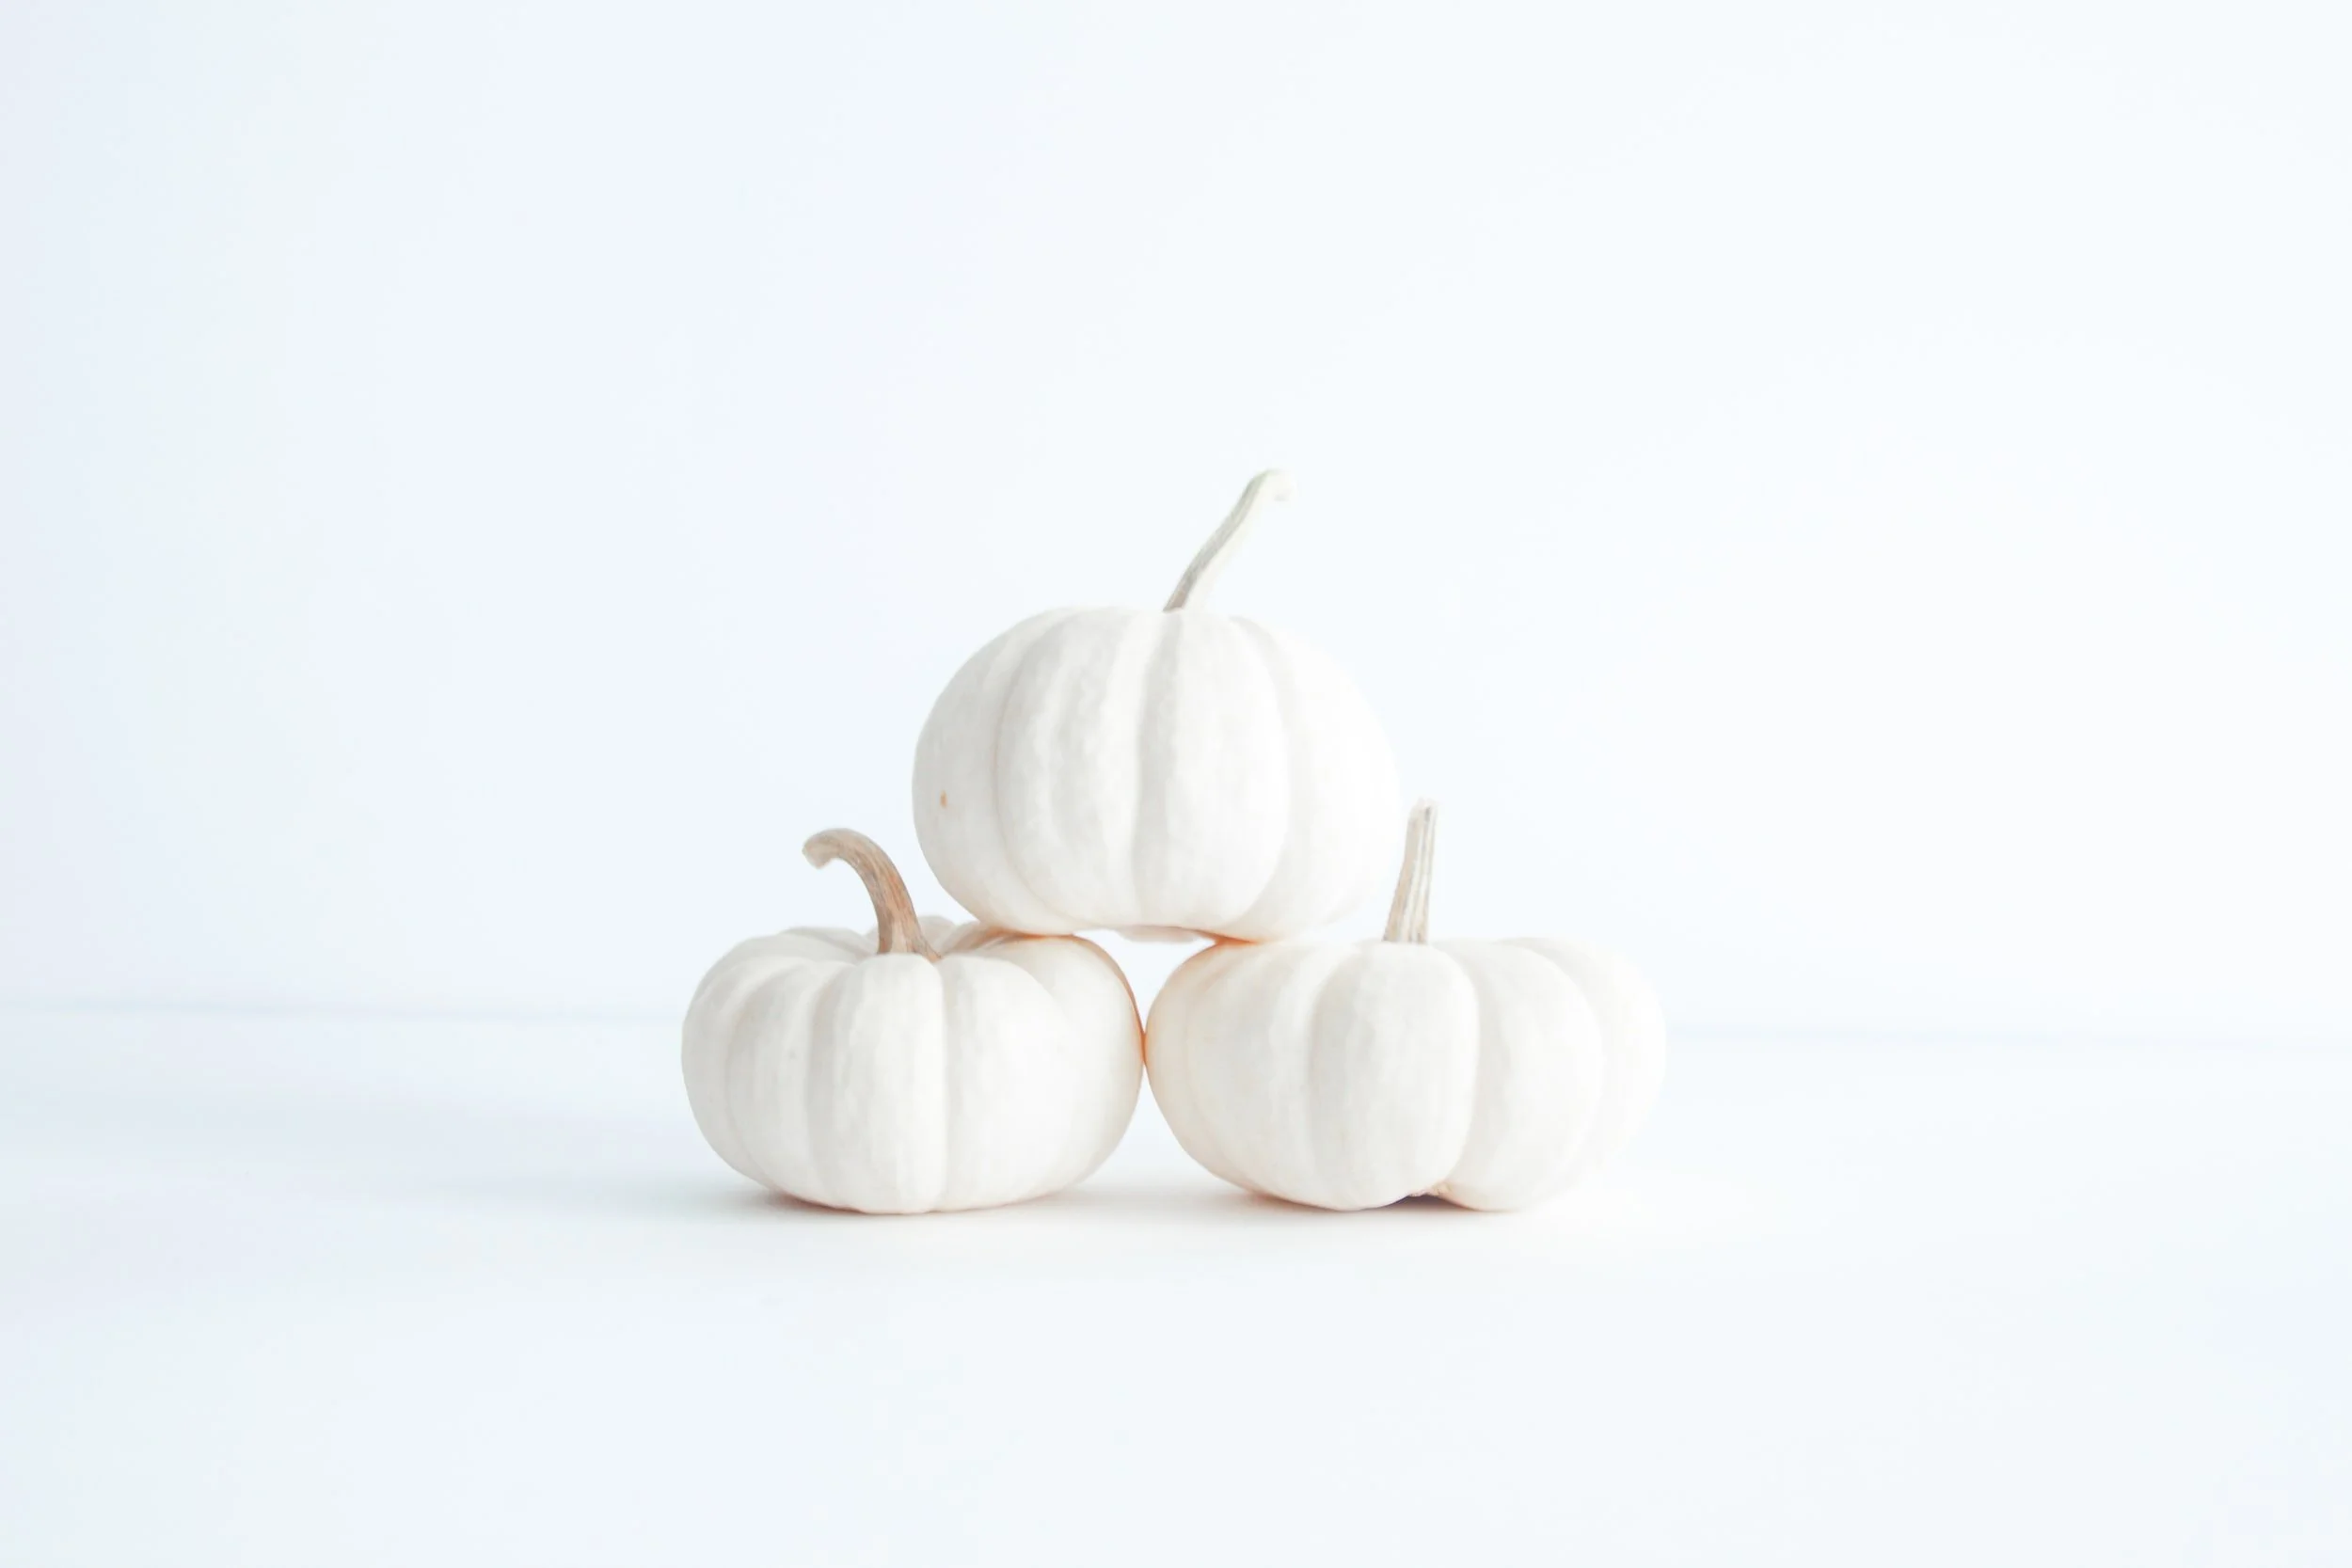
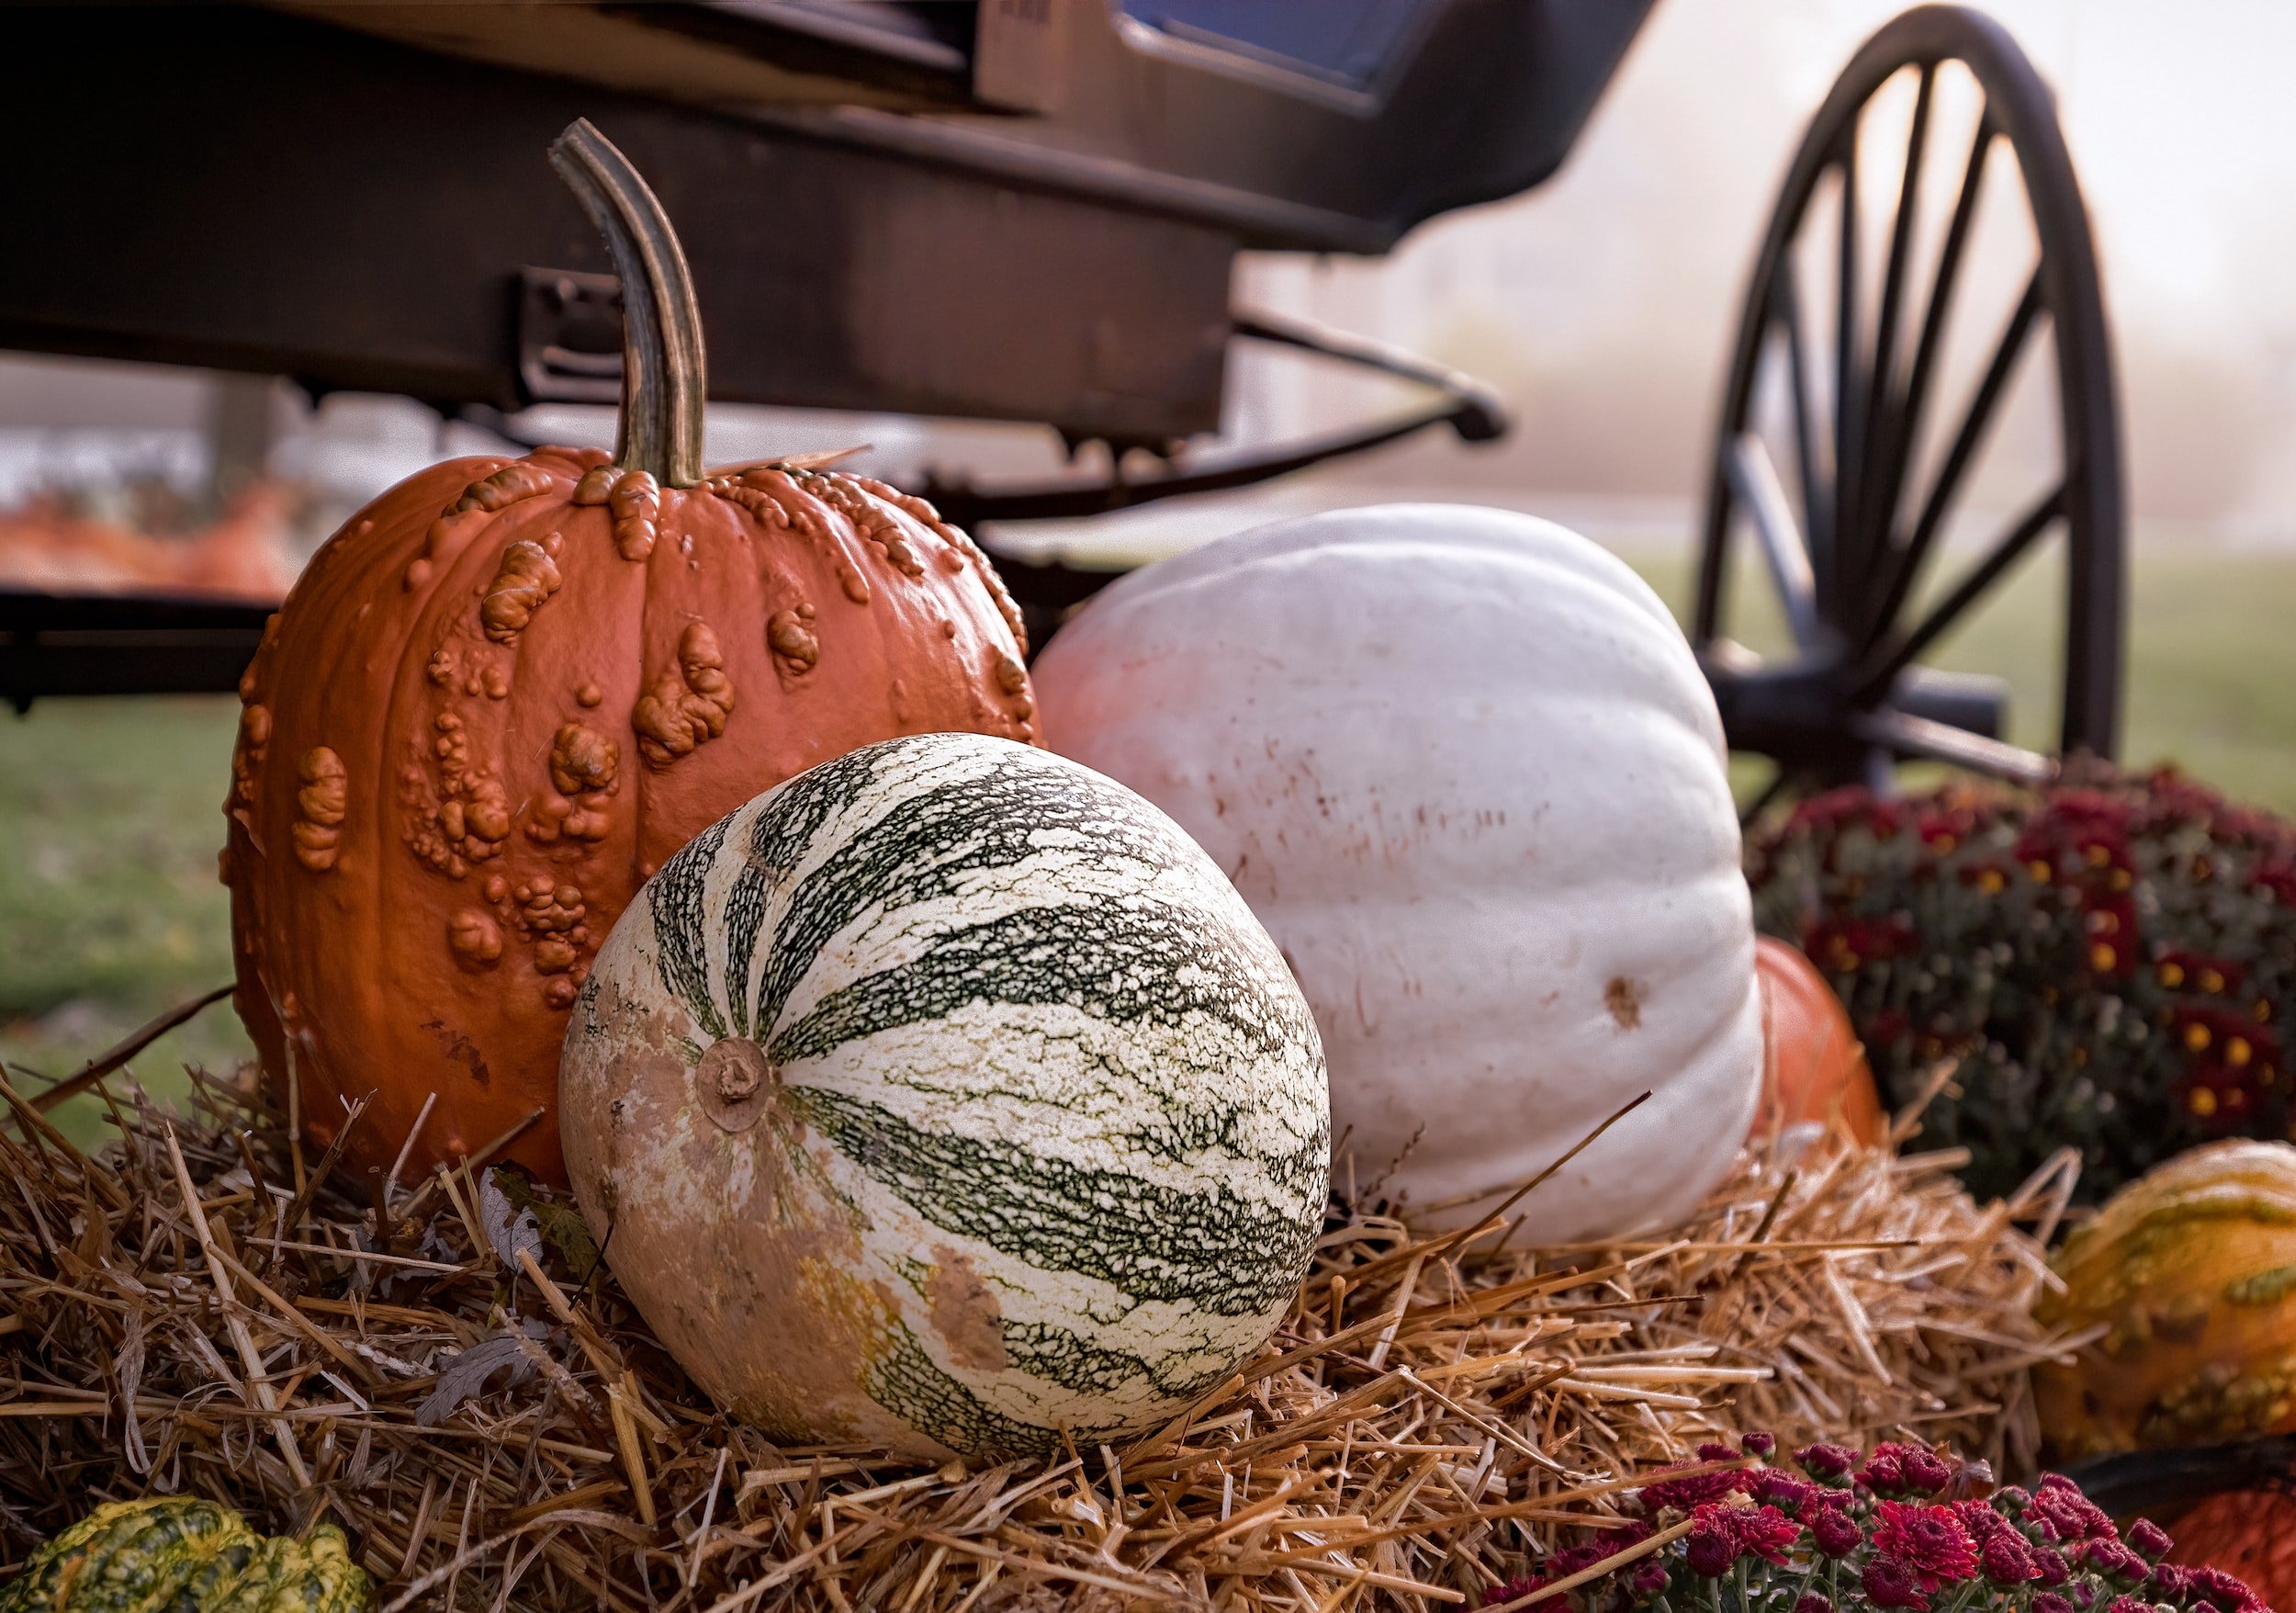
Using the seed packet as a guide, identify what color your variety of pumpkins should be when they are ripe. You should wait until your crop reaches this coloration before harvesting. Mature colors can be orange, blue-gray, white, and gray, depending on the variety.
The skin should also be hard like a shell and no longer have its luster. You should not be able to penetrate it with your fingernail. Once you have both the color and the firmness, it’s time for harvesting.
Harvest Before the Cold Weather
You will need to harvest your pumpkins before the first hard frost, or you will lose the crop. You should bring your pumpkins inside when there is cold and rainy weather. While they may not be ripe yet, they will have a better chance of lasting indoors than outside.
However, if you cannot, you will need to put straw underneath your pumpkins to prevent rot. The straw will prevent the pumpkins from coming into contact with the wet soil.
Pay Attention to the Vine
The vine will be a key indicator of the readiness of your pumpkins. For instance, when it starts to crack, your pumpkins are ready to be harvested. Additionally, you can wait for the vine to completely die, so all you have to do is pick your pumpkins instead of cut them off.
Many people do not want to wait for the vine to die off because it takes so long. Some wait until the first light frost kills the vine, but this is risky because it can also cause significant damage to your pumpkins.
Wear Gloves
When you are handling the vine, you will want to wear gloves because the vine can be prickly and injure your hands. You will need a sharp knife or pruning shears to cut the vine, leaving four to six inches on the pumpkin.
This remaining stem will protect the pumpkin from pests, including fungus and insects. Additionally, without a stem, the pumpkin will not store correctly and will need to be used immediately.
Handle the Pumpkin with Care
You will need to handle the pumpkin carefully to prevent nicking the skin or causing bruising. Additionally, do not handle it by the remaining stem. The pumpkin may be too heavy, and the stem may come out.
The result will be a damaged pumpkin. Instead, scoop the pumpkin from underneath when lifting it. Transport the pumpkins with a wheelbarrow to avoid dropping them or accidentally causing any other damage to them.
Can You Leave Pumpkins on the Vine Too Long?
If your pumpkins stay on the vine past the first frost, they have remained in the field too long. At this point, their skin will have softened, creating the potential for rot.
However, if your pumpkins are ready earlier than expected, you can leave them in the field on the vine, and they will be fine. The amount of time they can last depends on the weather, and they must still be harvested before the first hard frost.
Curing and Storing Pumpkins

Curing will harden the skin of your pumpkin, protecting it from rot and decay while also allowing it to last longer. You will first cut the stem to leave four to six inches remaining and clean the dirt off the pumpkins.
To cure them, keep them in a warm sunny spot for at least two weeks. An ideal location can include a window sill, greenhouse, garden, and doorstep. Wherever you put them, ensure that the spot stays dry or you have a backup plan for when it rains.
Then, you’ll need to turn the pumpkins upside down and let them sit for another two weeks. This process will ensure that the entire rind will be evenly cured. Once these second two weeks are over, polish the pumpkins with olive oil to ensure they are moisture-tight for storage.
While you are curing your pumpkins, you will need to pay attention to the weather forecast. If it becomes too cold, you will need to either cover the pumpkins or move them inside to prevent damage from the weather.
Also, if you have bothersome foraging animals, you will need to protect the pumpkins. Consider placing bird netting over the pumpkins to thwart these animals from their nibbling. This will ensure that you don’t lose your crop to someone’s dinner.
Storing Pumpkins
After curing, identify a storage space that is dry, well-ventilated, and frost-free. The temperature should not exceed 68℉ or go below 50℉. Too much heat or too much cold can result in a faster decay.
Do not place the pumpkins directly on any surface. They will need a thick layer of newspaper, wire rack, or straw to allow for proper air circulation to delay rot. Two main reasons for this are damage to the surface and increased decay time.
Never place pumpkins directly on wood or cloth surfaces. They tend to weep from the flower scars on their bottom sides, and this can severely damage the surface of the wood or the cloth. Always keep a protective layer between the pumpkin and the surface you sit it on.
The moisture inside the pumpkin is enough to be destructive even if it does not weep. You will also want to avoid setting the pumpkins on concrete because the moisture in the floor will speed up the decaying process.
Additionally, do not store them near apples or other similar fruits. They emit ethylene gas which will cause your pumpkins to age more quickly.
Ensure you develop a routine where you check on your pumpkins regularly. You will want to check for signs of aging and rot. Any pumpkins that are showing signs of turning soft should be used immediately before they are too far gone.
Final Thoughts

Pumpkins are incredibly versatile when it comes to what they are used for. There’s no end to their uses, from carving images at Halloween to making pies during the holidays to making gourmet meals, and knowing when the precise time to harvest them for the best results is critical.
When your pumpkins have reached their maturity coloration, reached the date on the seed packet for their maturity, have developed a hard and firm skin, and have their vines start to turn brown, it’s time to harvest them. They will be at their peak condition.
Curing your pumpkins is essential for longer storage. The process is straightforward and will ensure that you get the maximum amount of time from your crop. Ensure that you are paying attention to the weather forecasts and are watching out for any animals that will eat them. And be sure to add planting pumpkins to your garden planning chart for next year so you can get them in the ground at the right time!
And there you have it! Everything you need to know about harvesting, curing, and storing pumpkins. Do you have your Jack-o-Lantern design picked out yet?
Want to learn more about farming? Be sure to check out these featured articles!
Subscribe to our email newsletter for regular tips and tricks on homesteading and farming – wherever you are. You can also follow us on Instagram (@jrpiercefamilyfarm) and Pinterest (J&R Pierce Family Farm) for frequent updates. Happy homesteading!